
10 Feb Growing Crystals at Home: Our Homeschool Science Experiment
How we turned our kitchen into a crystal-growing lab with items from the dollar store
The Magic of Crystal Science
I will admit, my boys were not sure about this whole, growing our own crystals business when I first described what we were about to do. But by the end of our experiment? They were checking their jars every hour and begging to try more variations. So basically, I win 🙂
This is exactly why I love hands-on science. No boring worksheets. No expensive lab kits. Just simple materials you already have at home (or can get very inexpensively) creating actual EDUCATIONAL magic in your kitchen.
Why Crystal Growing Is Perfect for Homeschoolers
Crystal growing hits the sweet spot of science education:
- Visible results kids can actually see and touch
- Real geology concepts without the textbook overwhelm
- Budget-friendly materials from your pantry or dollar store
- Multiple learning opportunities as crystals develop over days
Plus, it’s absolutely impossible to mess up. Even “failed” experiments teach valuable lessons about how crystals form.
What You Need (& You Might Already Have Everything in Your House)
Forget those expensive crystal-growing kits (we have bought them and used them.) Here’s what we used for our home-grown version:
Basic Supplies (for all experiments):
- Hot water
- Glass jars (one for each type)
- String or pipe cleaners
- Pencils (to suspend the strings)
Crystal-Growing Materials:
- Table salt
- Sugar
- Epsom salt (you can find this at the dollar store)
- Baking soda
That’s it! We ran four experiments simultaneously: salt, sugar, Epsom salt, and baking soda crystals. Then we compared how different materials created different crystal structures.
Total cost? $5-$10 if you need to buy everything. Most families already have at least three of these four ingredients at home.
Messy little tip: We labeled each jar so the boys could track which crystals were which. Turns out, different materials create VERY different-looking crystals… but after a month it’s hard to remember which is which!
Our Crystal-Growing Adventure
Setup Day: Build That Excitement
We started with four different crystal experiments running simultaneously. Why? Because my boys are 7 and don’t want to wait three days for one result when they could be watching FOUR experiments develop!
Salt Crystal Garden: The boys helped mix hot water with table salt until no more would dissolve. We tied a string to a pencil, balanced it across a jar, and poured in our supersaturated solution.
The twins’ prediction: “It’s going to turn into a rock!”
My prediction: They’d forget about it in an hour.
I was wrong. They checked that jar every 30 minutes.
Sugar Crystals: We followed the same process with sugar, hot water mixed until saturated, then poured into a jar with a suspended string. The boys were fascinated that we were basically making rock candy!
Twin observation: “Wait, is this actually how they make the crystals on sticks at the candy store?”
Yes, buddy. Yes it is. Science is delicious!
Epsom Salt Quick Crystals: This became our “instant gratification” experiment. We mixed equal parts hot water and Epsom salt, poured it into jars with strings, and waited.
Within hours, we had visible crystals forming. For kids with short attention spans (so, all kids plus myself), this was perfect.
Baking Soda Experiment: This one taught us about patience and the scientific method. We made a supersaturated baking soda solution and left it to evaporate slowly.
Spoiler: It took the longest, and produced something like cement in the end.
What Actually Happened (The Science Part)
Here’s the beautiful thing about crystal growing: you can’t help but learn the science because it’s RIGHT THERE happening in your kitchen.
Week 1 of Our Curriculum: We learned that crystals are solids with atoms arranged in repeating patterns. So boring in a textbook. AMAZING when you’re watching it happen in real-time across four different experiments.
The Process:
- Hot water dissolves more salt/sugar/minerals than cold water
- As water evaporates, those dissolved materials have nowhere to go
- They start sticking together in organized patterns
- Boom: crystals!
My boys grasped this concept because they SAW it. No memorization needed.
The Comparison Learning: Having four experiments side-by-side created unexpected teaching moments:
- Salt crystals grew fastest but were smaller
- Sugar crystals took longer but were larger and clearer/more-defined
- Epsom salt created needle-like crystals (totally different shape!)
- Baking soda formed crusty, chunky crystals
Each material created unique crystal structures, exactly like how different minerals form different types of rocks in nature!
Real Talk: What Didn’t Work
Crystal Fail #1: My boys were so excited they kept picking up the jars to show them off and check them out. This disturbed the crystal formations and we most likely got smaller, less impressive crystals.
Lesson learned: Patience isn’t just for the evaporation process. Don’t touch the experiments, if you can help it!
Crystal Fail #2: We tried growing crystals in a room with lots of humidity (which is all of our rooms… Florida problems). Growth was much slower than expected and much slower than it would have been in a drier climate.
Lesson learned: Dry environments = faster evaporation = faster crystal growth.
Crystal Fail #3: The baking soda experiment was… underwhelming. We thought it didn’t work. But after a week, we discovered crusty crystal formations we’d initially missed. After about the month mark, the whole jar turned into a hard, cement-like substance.
Lesson learned: Different materials create different results. Not all crystals look like the pretty ones in science kit pictures!
But here’s the thing: these “failures” created the BEST teaching moments. The boys understood cause and effect because they experienced it themselves. Science isn’t about perfection, it’s about observation and learning from what actually happens.
Watch Our Crystal Growing Video
Want to see the whole process in action? I documented the results of our entire crystal-growing adventure:
Watch the full process! You’ll see all four experiments, the boys’ reactions, and our hilarious failures.
Want to do this experiment with your kids? It’s Week 1 in our Rock Explorer curriculum, a complete 6-week geology adventure with everything you need for hands-on science your kids will actually love.
Extension Activities
Once you have successful crystals growing, you can experiment with variations:
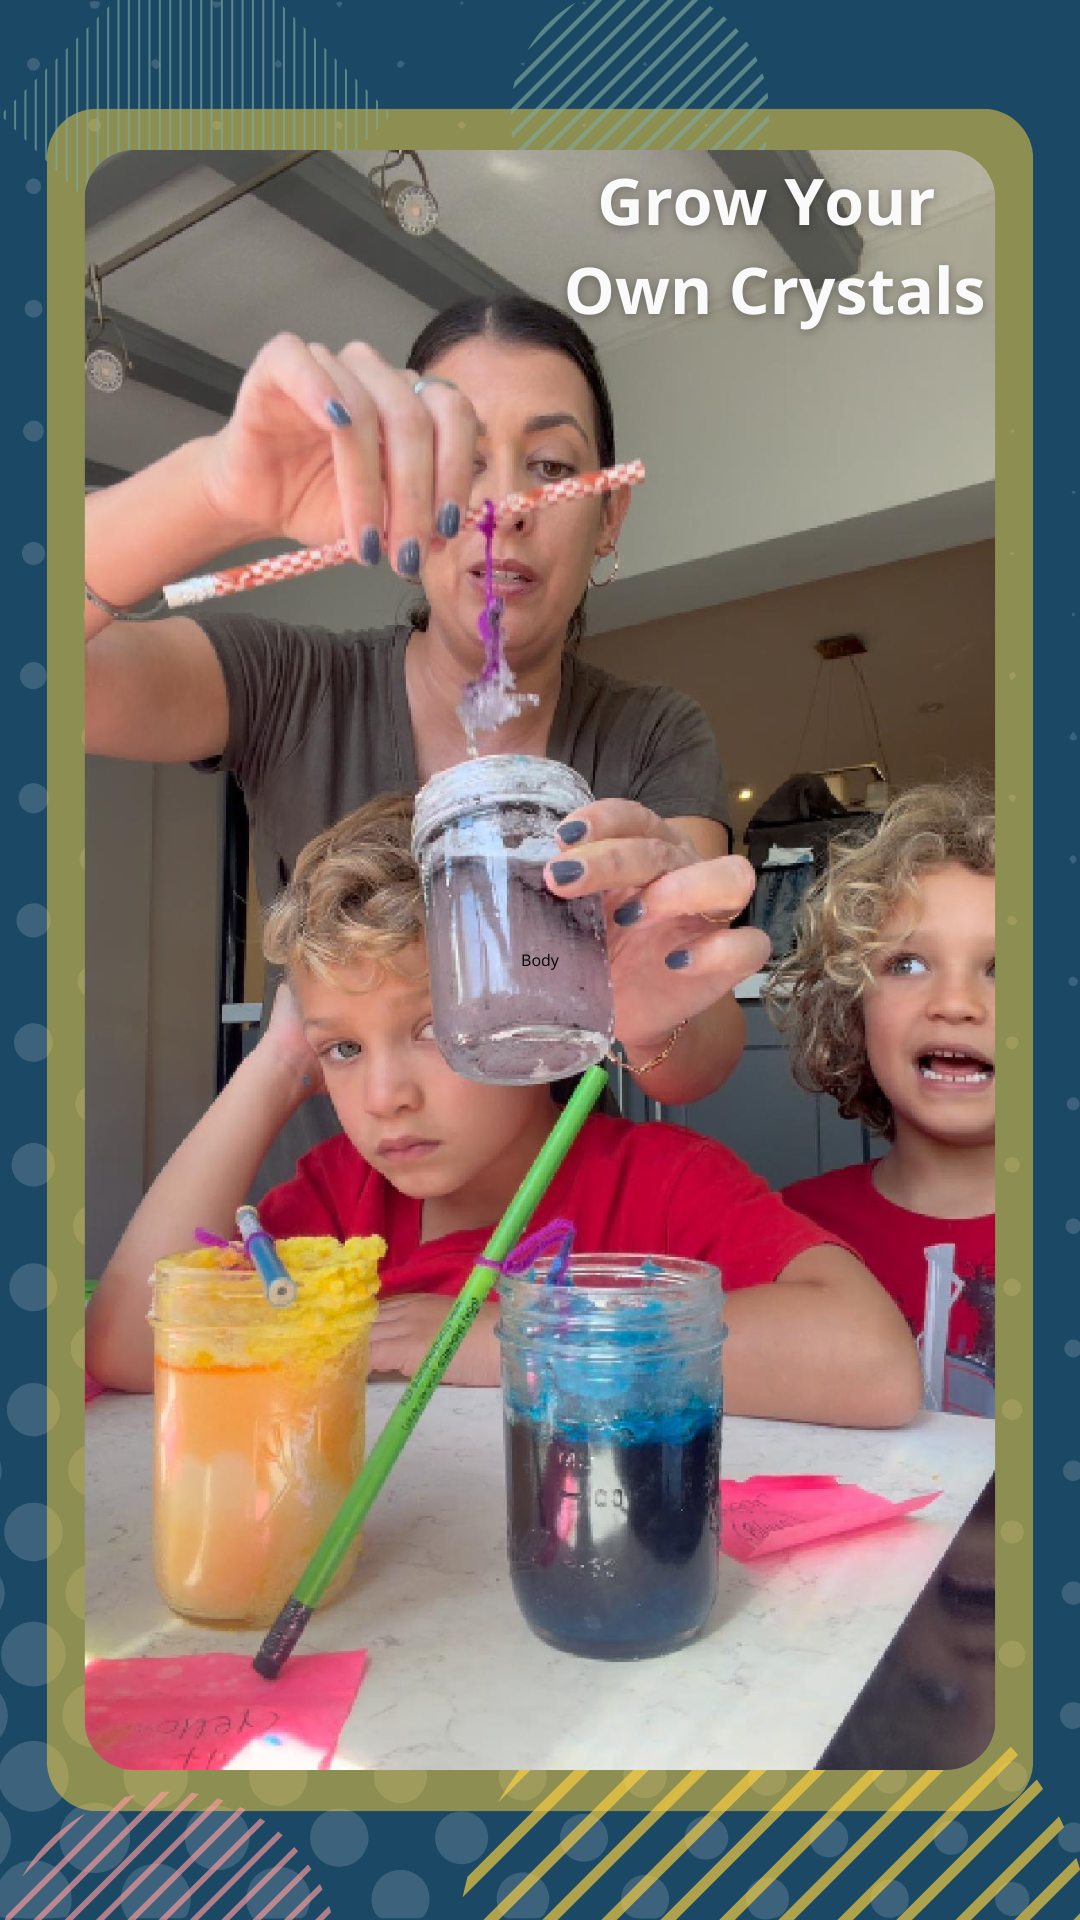
Different Colors: Add food coloring to your solutions. The boys loved watching colored crystals form!
Temperature Tests: Make identical solutions but let one cool naturally and put one in the fridge. Discuss why crystal size and formation speed differ.
Shape Experiments: Use pipe cleaners bent into different shapes as the base for crystal formation. You can create crystal stars, hearts, and “magic Harry Potter wands.”
The Bigger Picture: Why This Matters
This isn’t just about crystals. It’s about:
- Observation skills: Checking daily for changes
- Scientific method: Making predictions and testing them
- Patience and delayed gratification: Waiting for results
- Real-world connections: Understanding how caves form, how minerals create, how geologists study Earth
My boys will now point out crystals everywhere: in rocks we find, in salt shakers, even in ice formations in the freezer!
That’s the power of hands-on learning. It creates connections that stick.
Ready to Try This at Home?
This crystal-growing experiment is part of Week 1 in our Messy Little Rock Explorers curriculum – a complete 6-week geology adventure designed for real families.
What You Get:
- Step-by-step instructions for 20+ hands-on experiments
- Budget-friendly alternatives to expensive materials
- Discussion questions that actually engage kids
- Extensions for different learning styles and ages
- Everything you need to make geology FUN
No geology or teaching degree required. Just a willingness to embrace a little mess and a lot of discovery.
Tips for Success
Before You Start:
- Use the hottest water you safely can (adults only!)
- Stir until you can’t dissolve any more material
- Place jars somewhere they won’t be disturbed
During the Wait:
- Encourage daily observations in a science journal
- Ask prediction questions: “What do you think will happen next?”
- Try to resist touching (harder than it sounds!)
- Take photos/videos to track progress
After Crystal Formation:
- Let kids examine crystals with magnifying glasses
- Compare different crystal structures
- Discuss why crystals form in nature
The Best Part
Will my kids become geologists because we did this experiment? I mean, maybe… and maybe not. But he’s discovered that science isn’t boring textbook stuff – it’s hands-on discovery that happens right in our kitchen.
And that’s worth more than any expensive science kit.
Your Turn!
Have you tried crystal-growing experiments with your kids? What worked? What surprised you? Comment below, I would love to hear about your family’s science adventures!
Want more hands-on science fun? Check out our complete geology curriculum at https://messylittlehomeschool.com/product/rock-explorer-6-week-geology-adventure/ for 6/7 weeks of experiments just like this one.
Watch the full crystal-growing video: YouTube link
Follow our geology adventures:
- Instagram: @messylittlehomeschool
- Pinterest: Messy Little Homeschool
- Facebook: Messy Little Homeschool
Remember: Learning is messy. Embrace it! 🪨✨
No Comments